Discord Bot Pipeline - More Setup
This post is part 8 of a 10 part series:
- Part 1 - Discord Bot Pipeline - Intro
- Part 2 - Discord Bot Pipeline - GCP Setup
- Part 3 - Discord Bot Pipeline - GitHub Setup
- Part 4 - Discord Bot Pipeline - Terraform Setup
- Part 5 - Discord Bot Pipeline - GitHub Actions Setup
- Part 6 - Discord Bot Pipeline - Making Terraform Changes
- Part 7 - Discord Bot Pipeline - Discord Specific Terraform Setup
- Part 8 - Discord Bot Pipeline - More Setup (This Post)
- Part 9 - Discord Bot Pipeline - Creating The Bot
- Part 10 - Discord Bot Pipeline - Conclusion
In the last post in this series, we set up Terraform configs to help us bootstrap our cloud infrastructure for creating new Discord bots. But there are a few other odds and ends we need to take care of before we can finally start writing code!
Creating the Bot in Discord
First, we need to actually create the bot in Discord.
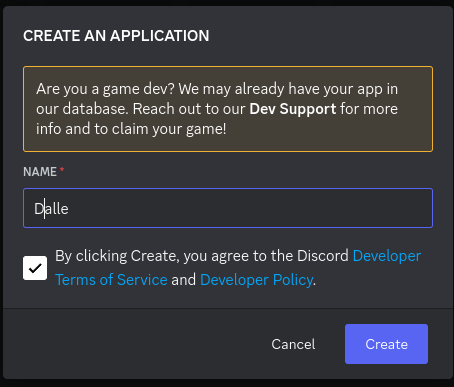
Navigate to the Developer Portal
and click New Application in the top right corner. It will bring up a dialog
asking for a name. Name the bot dalle as shown below:
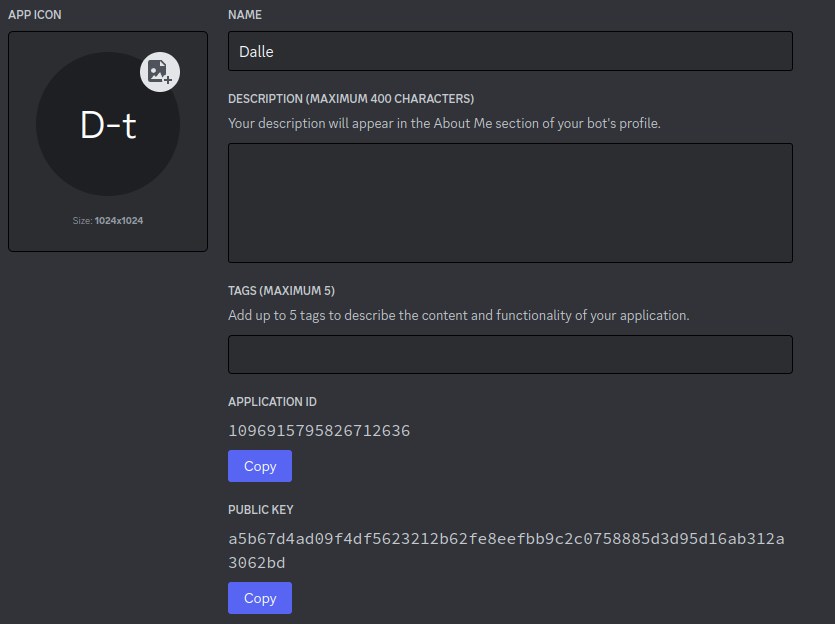
Once created, you can navigate to the General Information tab of your bot and
note the Application ID and Publickey shown in the picture below:
Connect a GitHub repo to GCP
Now let’s create the code for our bot. First create a new git repository in
GitHub like discordbots. Once the repo is created, we want to connect it to
Cloud Build such that commits to the repo will result in a new Docker image
being pushed. Although we set up our Terraform configs to achieve this, there
still is one manual step we need to do. We need to connect our GitHub account
to Cloud Build, which will allow Cloud Build to fire off builds on pushes to
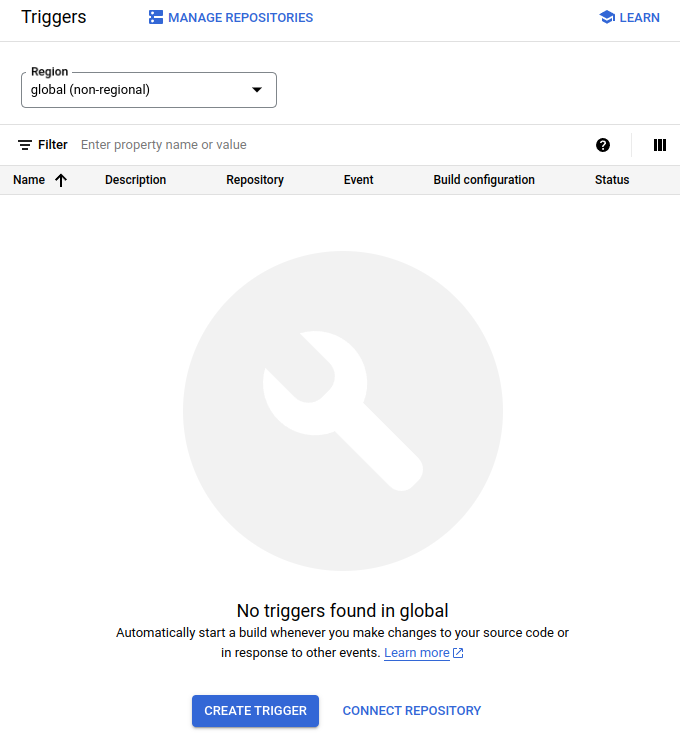
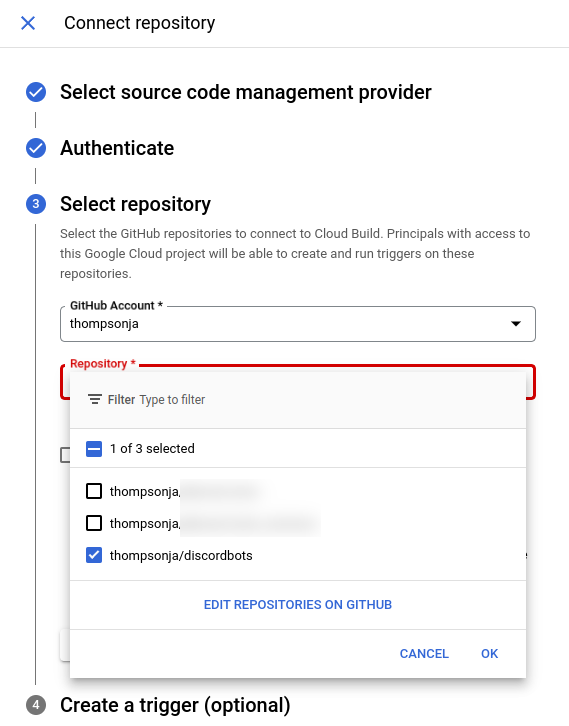
your GitHub repo. Navigate to the Cloud Build Triggers
page and click Connect Repository:
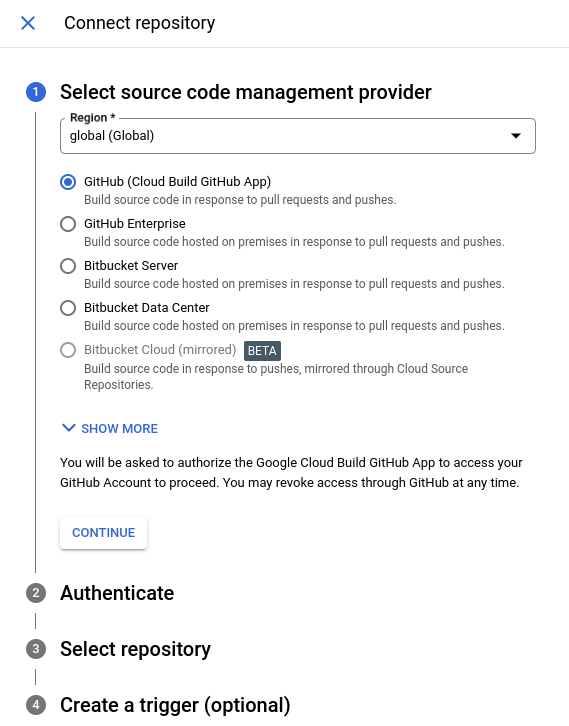
Select GitHub as the provider. Continuing will result in a GitHub authorization popup. Log in and allow access to Cloud Build.
If you do not see your repository, click on the Edit Repositories on GitHub
button. This can happen if you have the Cloud Build app on GitHub configured to
only support connecting to a specified list of repositories.
Create bot infrastructure with Terraform
Once this is complete, let’s go ahead and write up the Terraform config for our
new bot. Modify project.tf in your Terraform project and add the following
config:
module "dalle-bot" {
  source   = "./modules/discord_bot"
  bot_name = "dalle"
  github_trigger = {
    branch          = "main"
    included_files  = ["dalle/**"]
    repo_owner      = "thompsonja"
    repo_name       = "discordbots"
    cloudbuild_file = "cloudbuild.yaml"
  }
  gcp = {
    additional_roles       = []
    additional_secrets     = ["openai-api-secret"]
    artifact_repository_id = google_artifact_registry_repository.artifact-repo.repository_id
    notification_channels  = [google_monitoring_notification_channel.email-owner.name]
    owner                  = "joshua@thompsonja.com"
    project_id             = google_project.project.project_id
    project_number         = google_project.project.number
    zone                   = var.zone
  }
}
That’s it! A few things to note here:
- Set
repo_owner,repo_name, andownerto match your repository and email - This assumes a folder in the repo named
dalle, we’ll add this later - We are creating an additional GCP secret,
openai-api-secret, in order to allow our bot to make requests against our OpenAI account.
Perform the same steps as before, creating a Pull Request on GitHub and merging
it. Once it is done, you should be able to see a few secrets in [Secret Manager].
Namely, you should see openai-api-secret and dalle-key.
Setting GCP Secrets
Add your OpenAI API key either through GCP by clicking on the
openai-api-secret key and then clicking on the + New Version button, or
from the gcloud command-line:
gcloud secrets versions add openai-api-secret --data-file="<path_to_secret>"
Where path_to_secret is a textfile containing the API key. You can generate
an API key by navigating to your account on OpenAI.
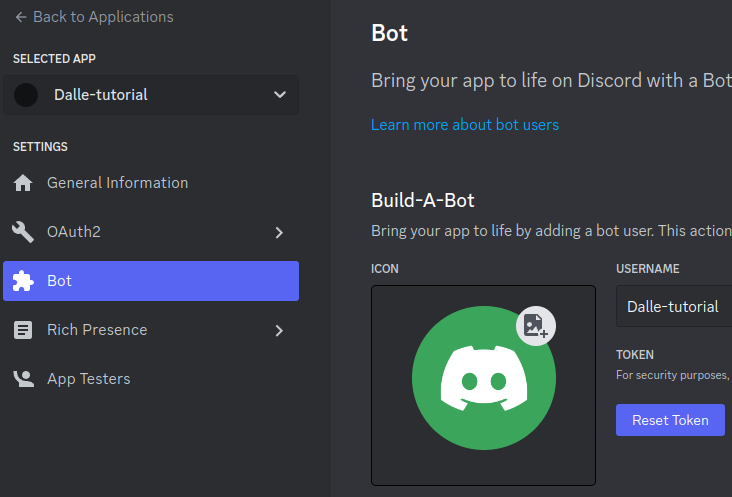
Similarly, you will want to obtain a new Discord bot key. From your bot’s page,
navigate to the Bot page in Settings, and then click on Reset Token, as
shown below:
Save this token to a local file and then run:
gcloud secrets versions add dalle-key --data-file="<path_to_secret>"
Whew! That was a decent amount of setup, but in the next post we’ll finally write the code for our bot!